Start by downloading our templates, you can find them on our site or download them directly by clicking here .
How to create a custom design?
A guide to creating a custom design.
Would you rather not start from our templates and create something completely customised? This blog post provides a comprehensive guide to help you create your own custom design. We will go through the process step by step, to bring the custom upload to fruition.
Scroll down or use the content menu to navigate to the instructions for the design tool you are using. Whether you're working with graphics software or an online design platform, we've gathered the necessary information for you.
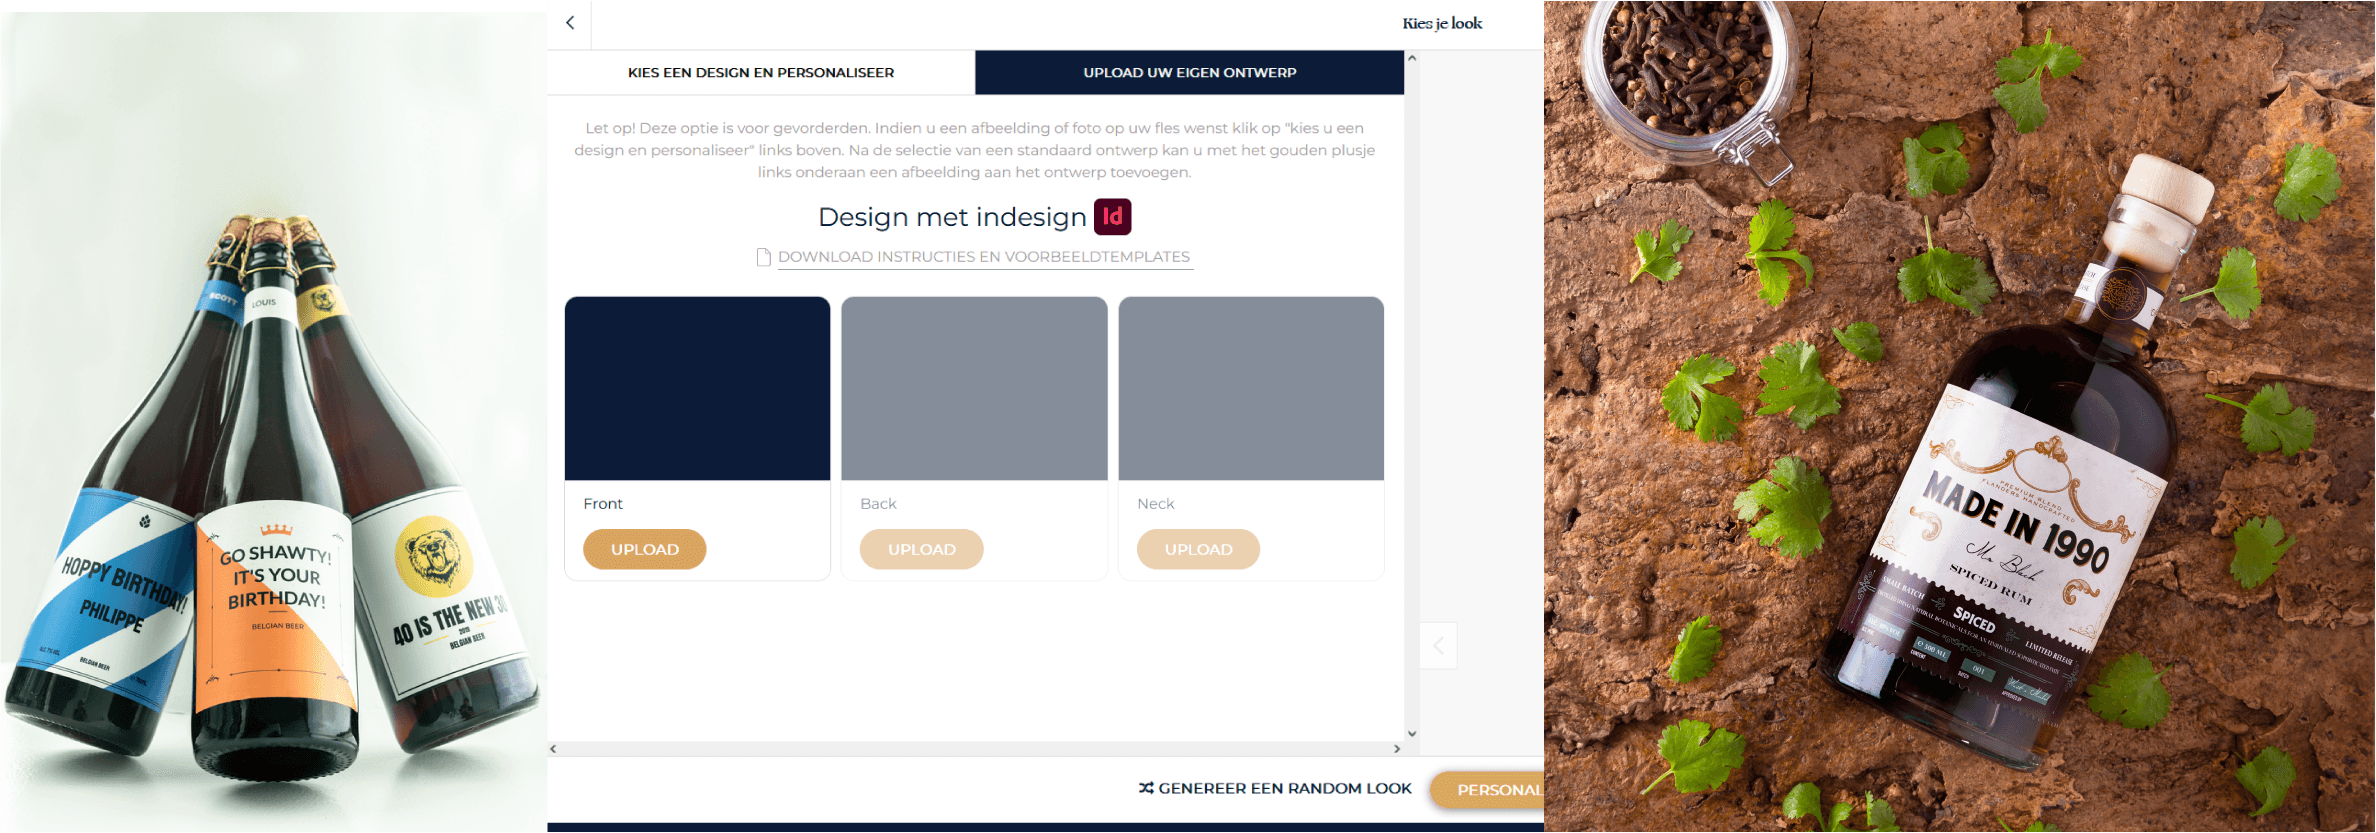
Option 1: Design with Indesign
In the file structure, click on the product you want to design a label for.
Then click open the Indesign file under that product.
(Note: this is the InDesign Document, not the Markup document).
Then you can start designing your label.
Make sure that everything that should reach the edge of the label has a little bleed to avoid white edges. So pull everything through to the red border.
When done, click "file" and then "export".
Make sure save as PNG is set and then click "save".
Make sure all settings are correct:
Quality: Maximum
PPI: 300
Colour: RGB
Transparent background OFF
Anti-Aliasing ON
Use bleed of document ON
As a final step, you then upload the PNGs to our website. It is mandatory to upload all sides (i.e. front, back and any neck label).
Then click on personalise this look to confirm your design.
Option 2: Design with Canva
Open the Canva template for the product you want to order. (You can find all the links at the bottom of this page).
Then click on "Use template for new design".
Please note that on the back label, a space must be left at the bottom for the legal data. This is a black bar that is added automatically.
After designing your label, click "share" and then "download" twice
Then, as a final step, upload the PNGs to our website.
Then click personalise this look to confirm your design.
Option 3: Design with other software
In your software, open a new file with the appropriate dimensions found at the bottom of the table.
Try to use a resolution of 300PPI to ensure sharp printing.
Now design all necessary labels. In the table at the bottom of this page you can find which labels are all needed per product.
Please note that on the back label, a space must be left at the bottom for the legal data. This is a black bar that is added automatically.
Now export all your labels as PNG files.
Then, as a final step, upload the PNGs to our website.
Then click personalise this look to confirm your design.
Links and dimensions
CANVA:
Front C (Spirits, mini spirits, candles, spices, ....)
OTHER SOFTWARE:
FRONT | BACK | NECK | |
SPIRITS | 661 px - 543 px or 455 px - 543 px | 396 px - 530 px | 1205 px - 201 px |
MINI SPIRITS | 455 px - 543 px | / | / |
WINES | 909 px - 1441 px or 661 px x 543 px | 396 px - 530 px | / |
BEERS | 661 px - 543 px | 396 px - 530 px | 1205 px - 201 px |
OTHER | 455 px - 201 px | / | / |
May be of interest to you
Why choose makeyour.com?
With more than 100,000 satisfied customers, we are known for unique gifts for unique gift moments
At makeyour.com you can personalise your gifts